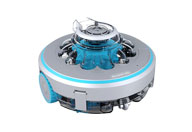
 Robotic Pool Cleaner
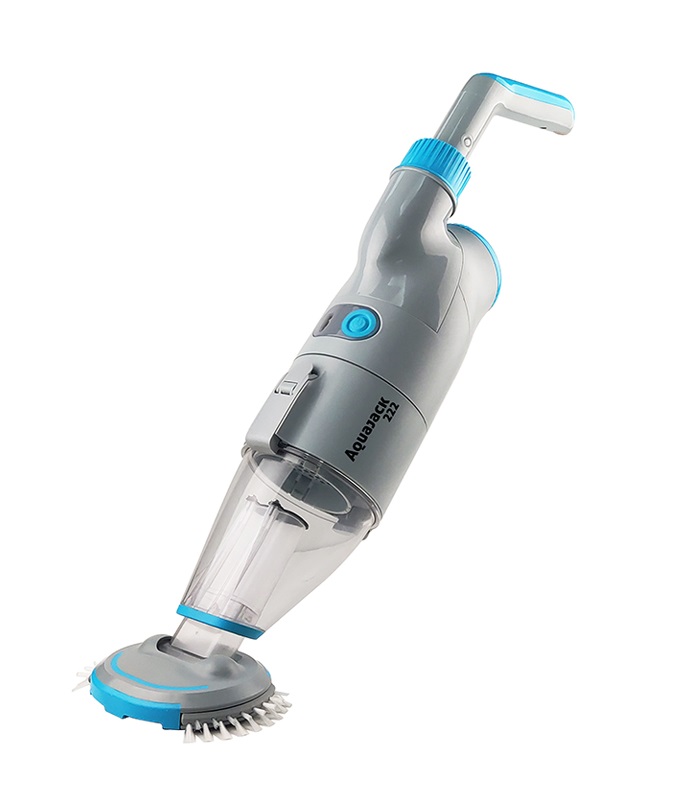
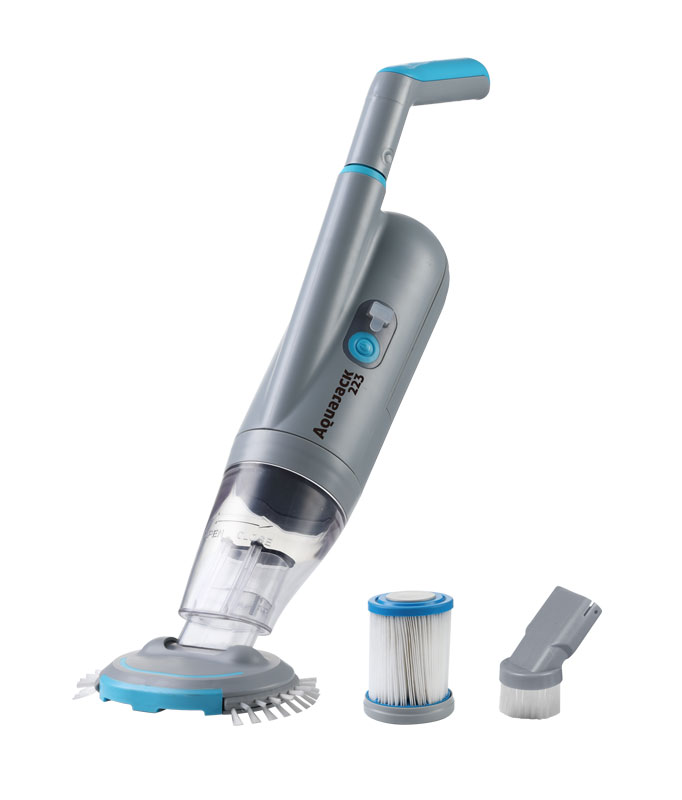
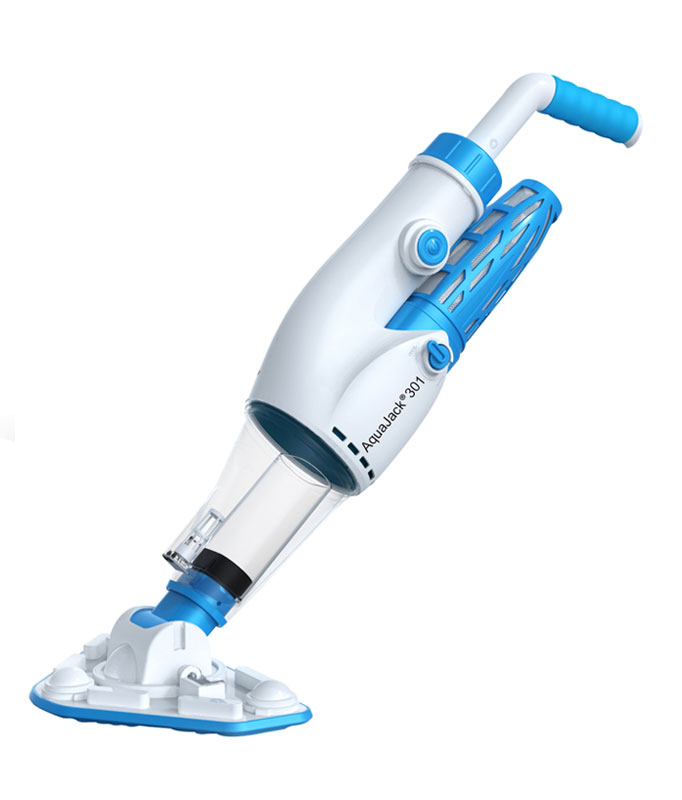
 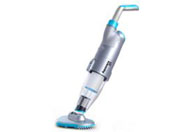 Portable Pool Vacuum Cleaner
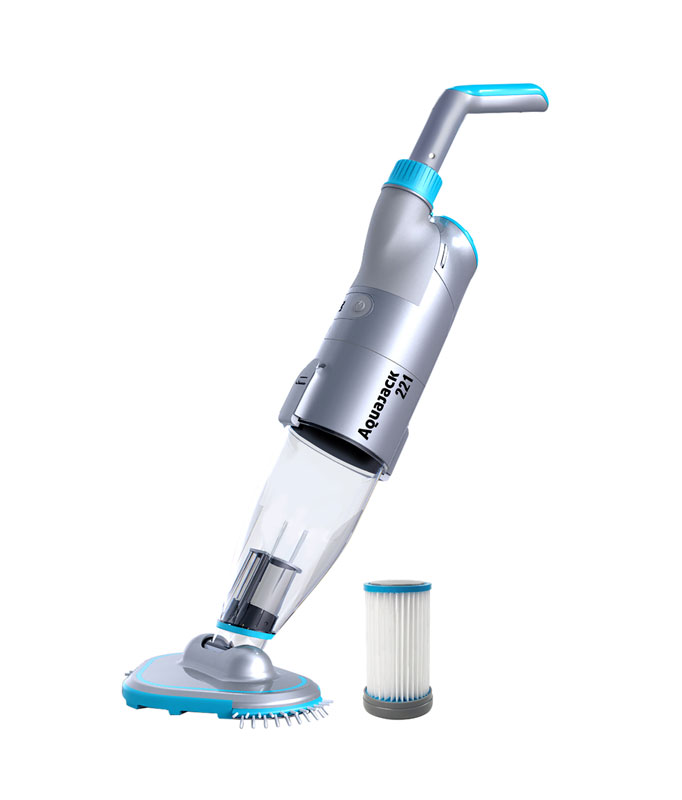
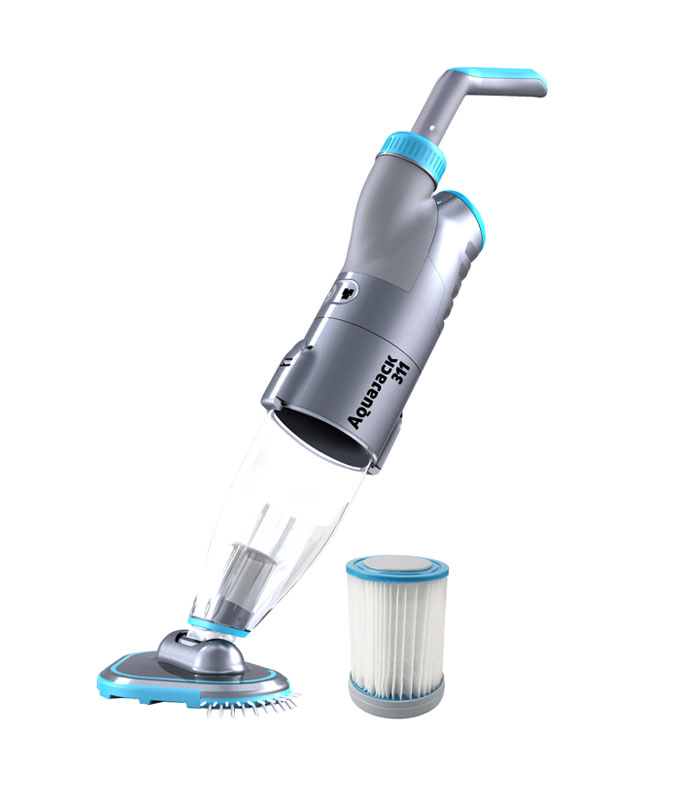
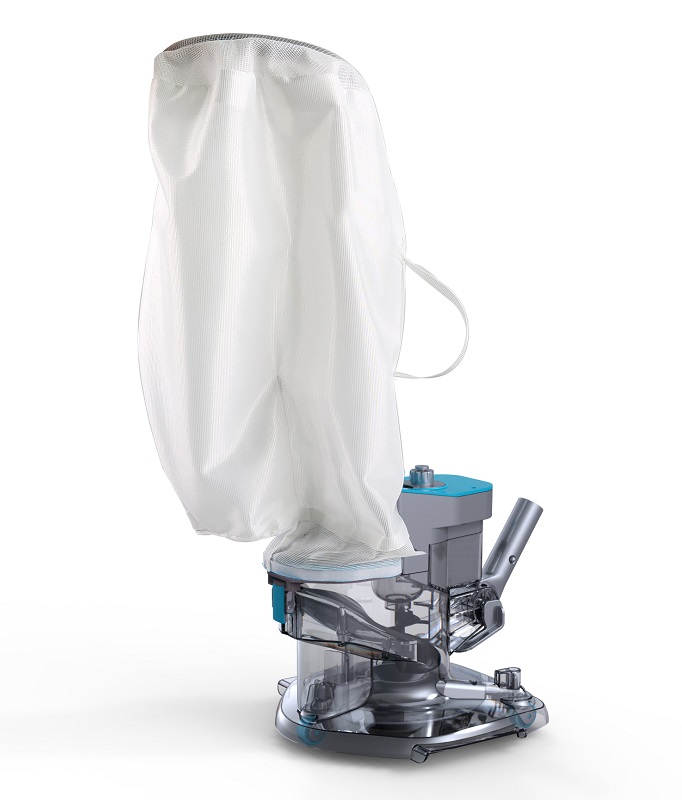
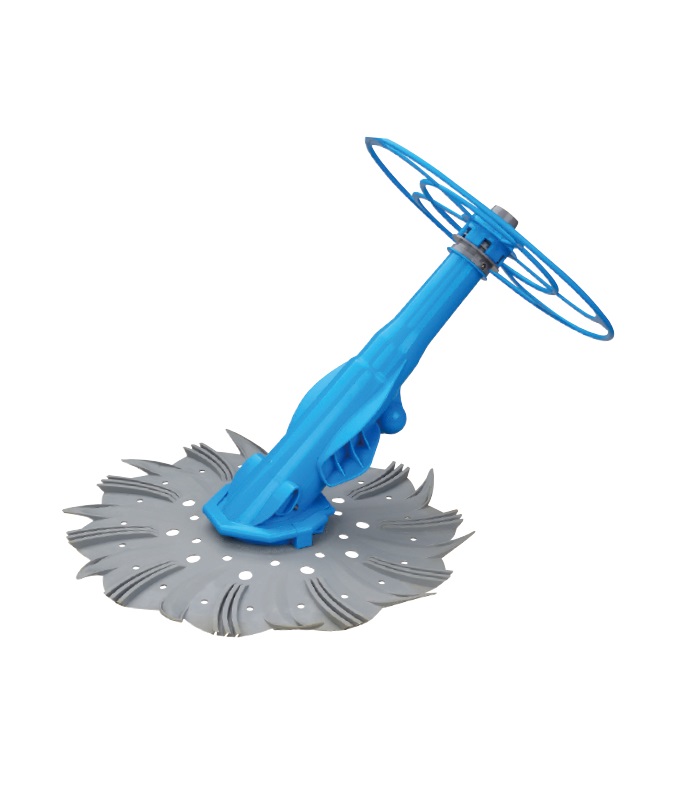
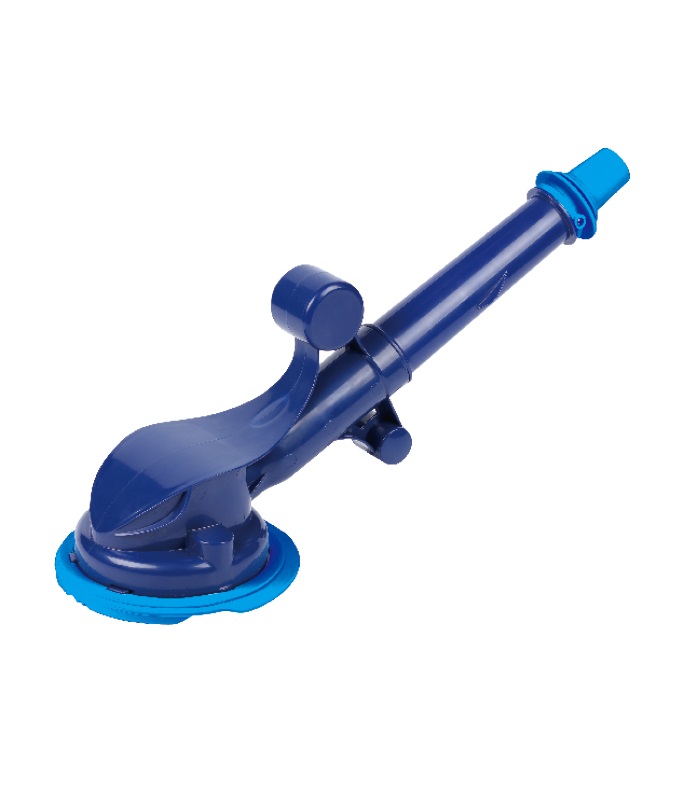
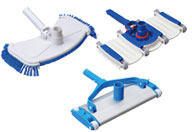
 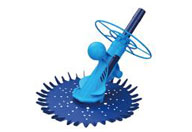 Automatic Pool Cleaner
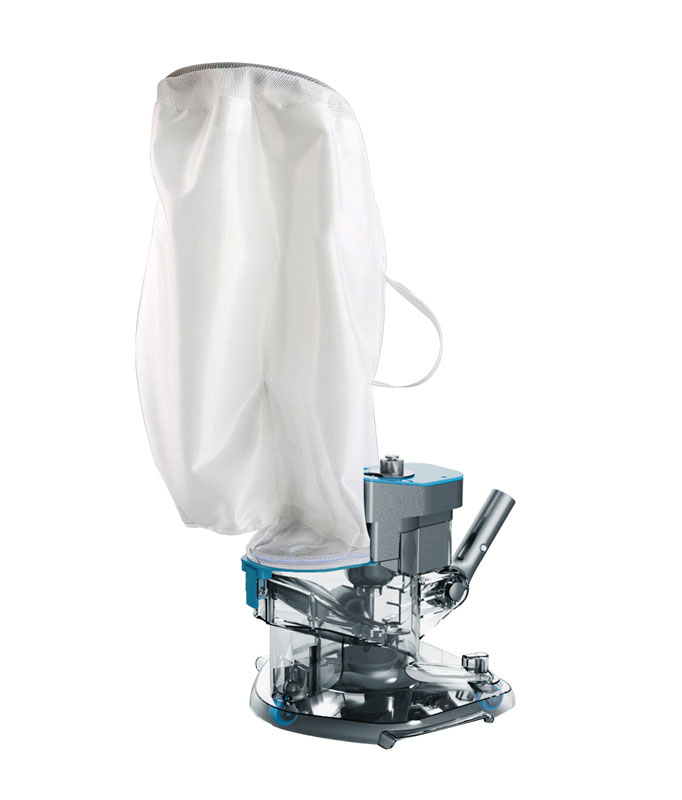
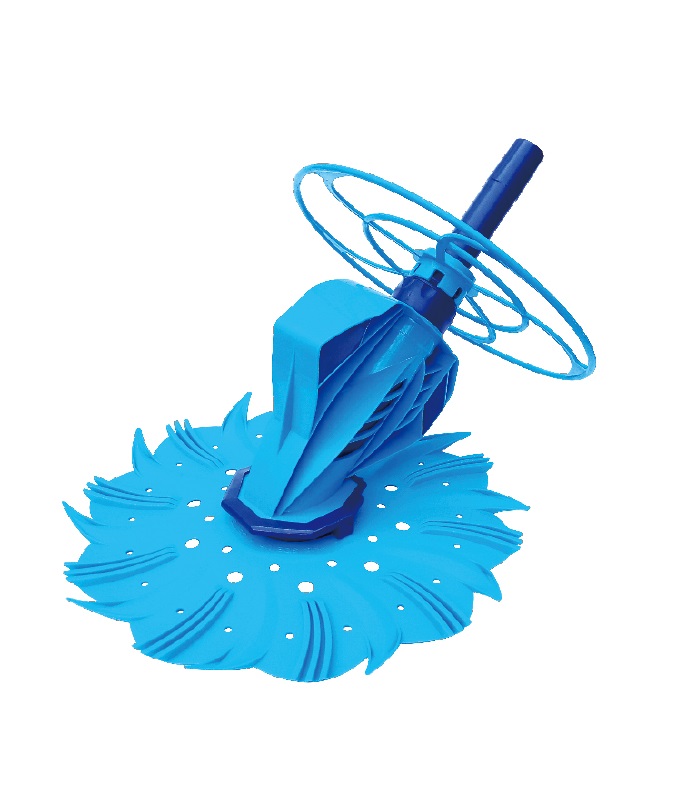
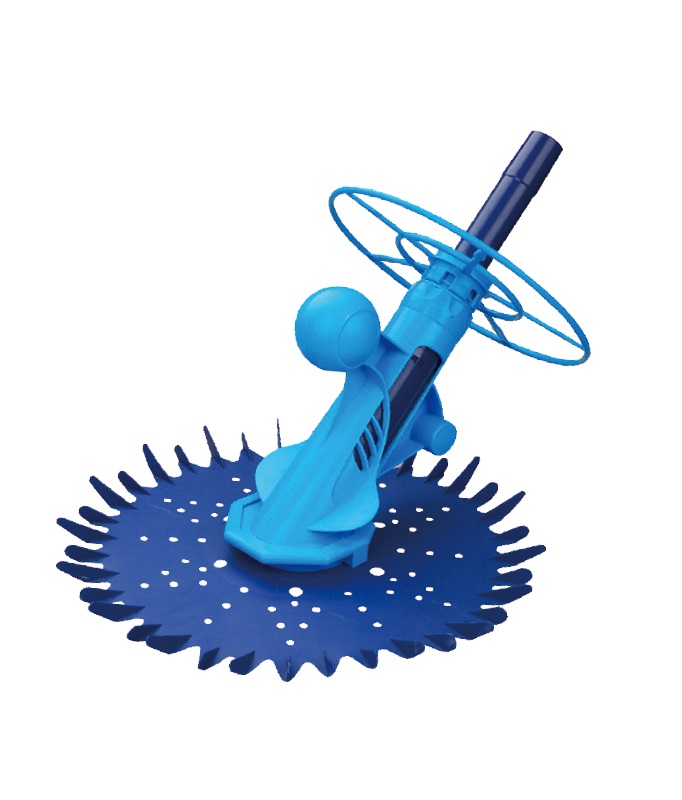
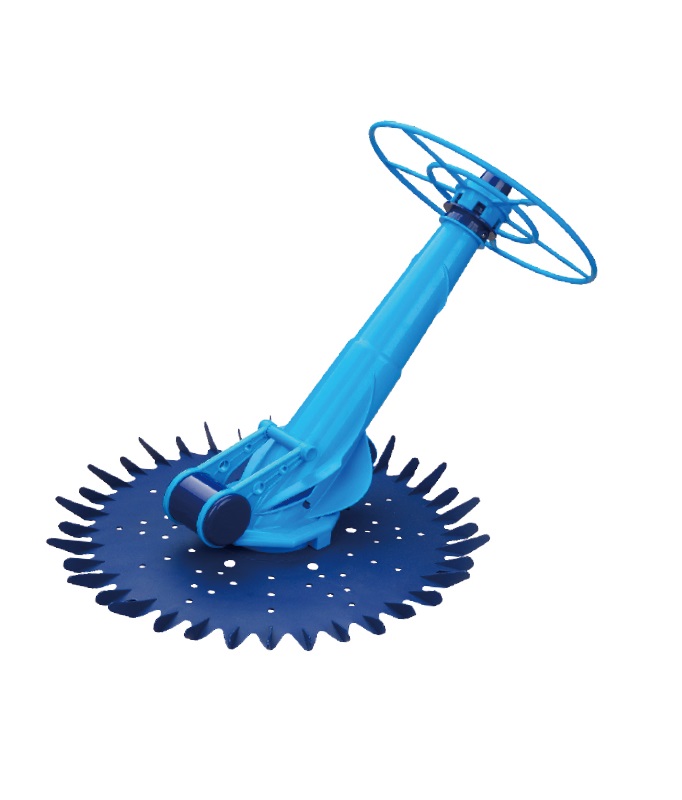
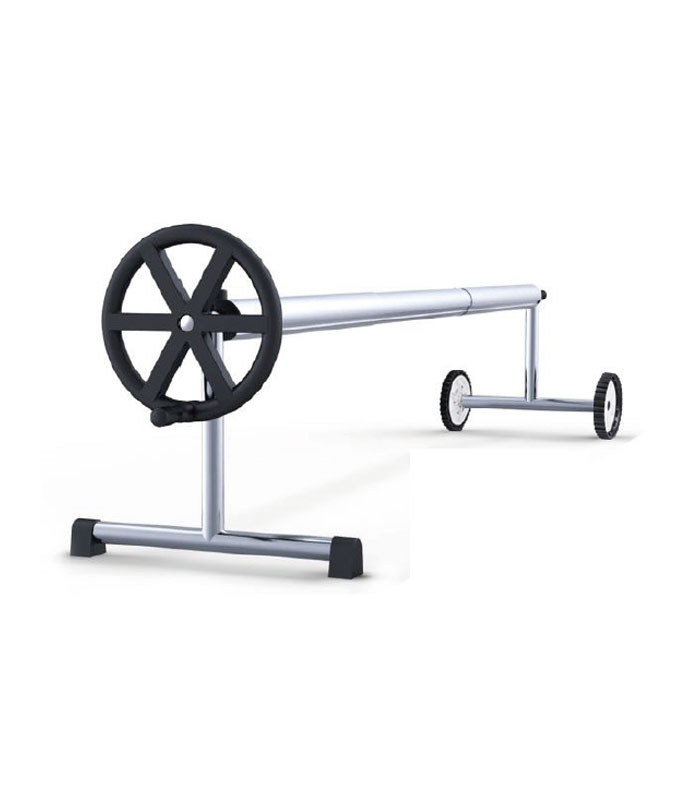
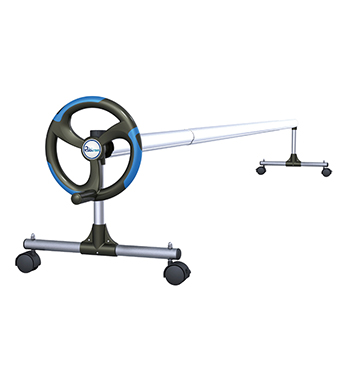
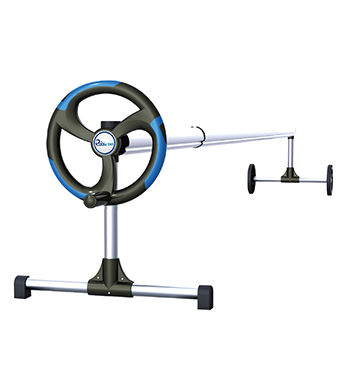
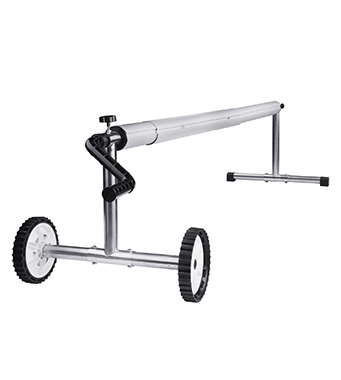
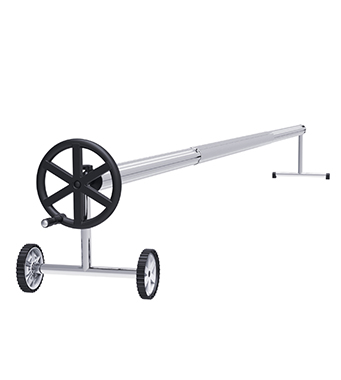
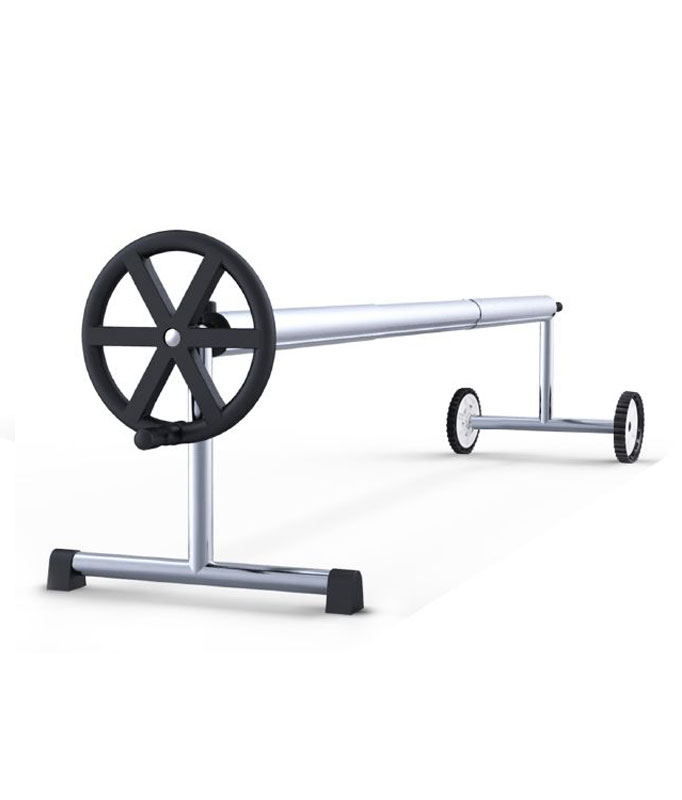
 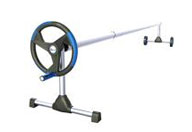 Pool Cover Reel
 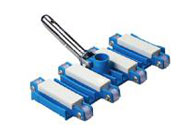 Pool Cleaning Accessories
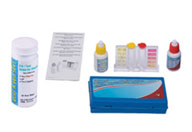
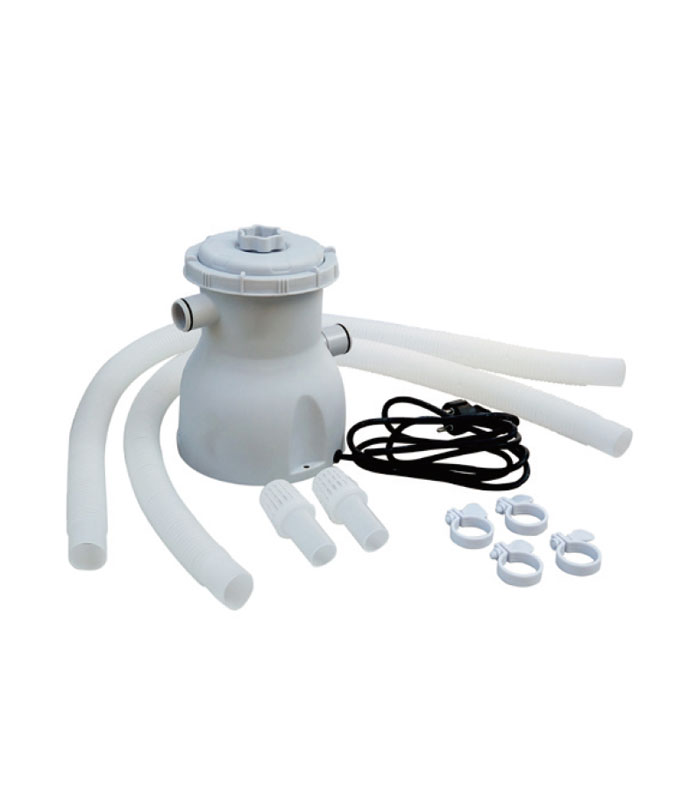
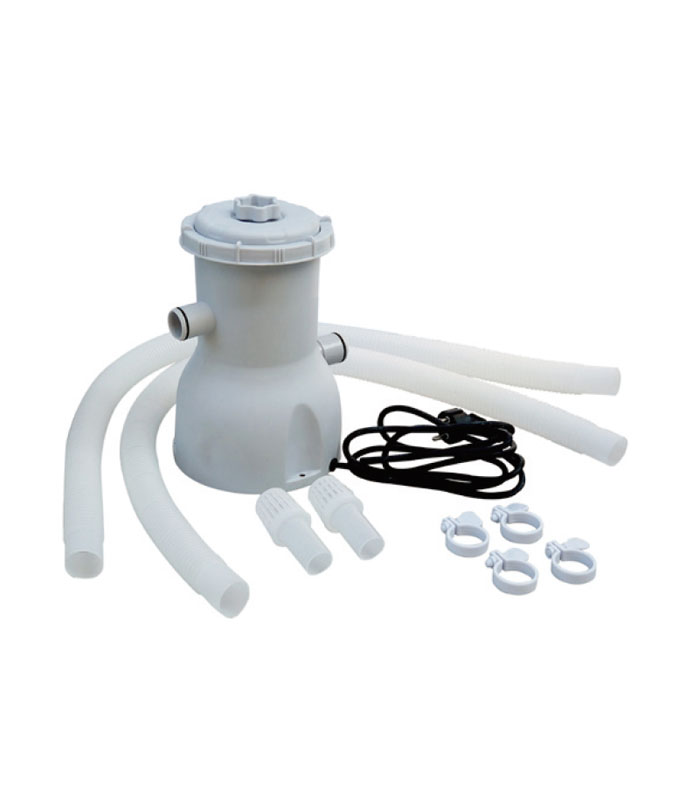
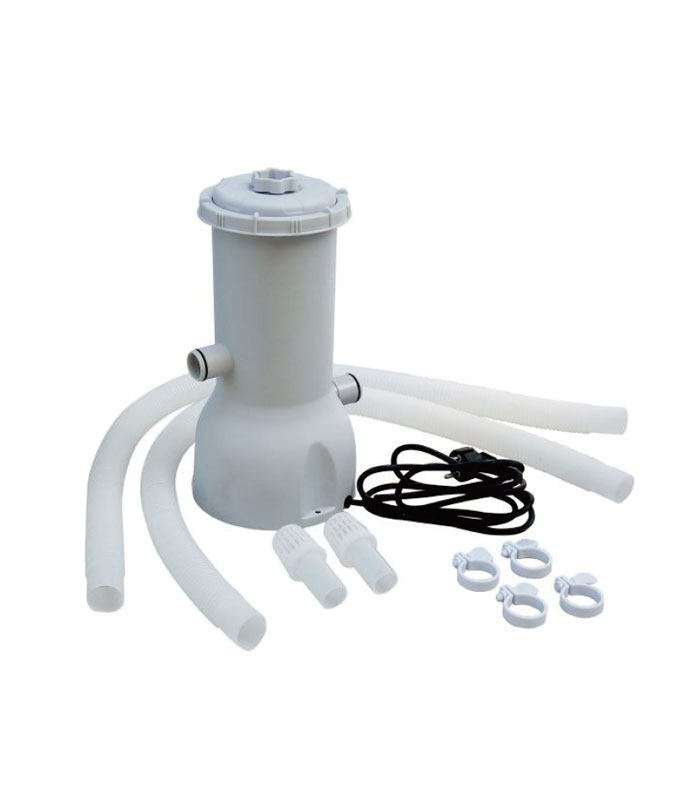
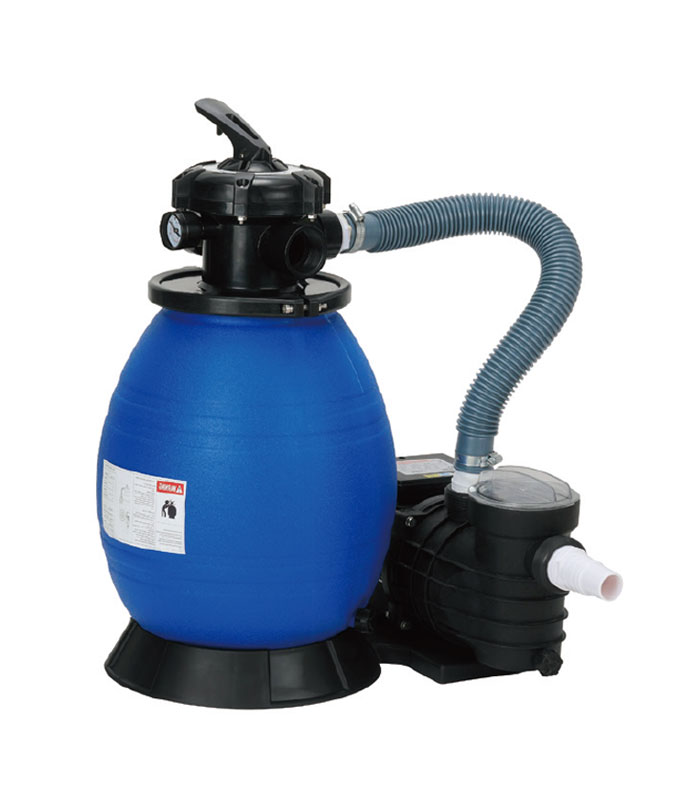
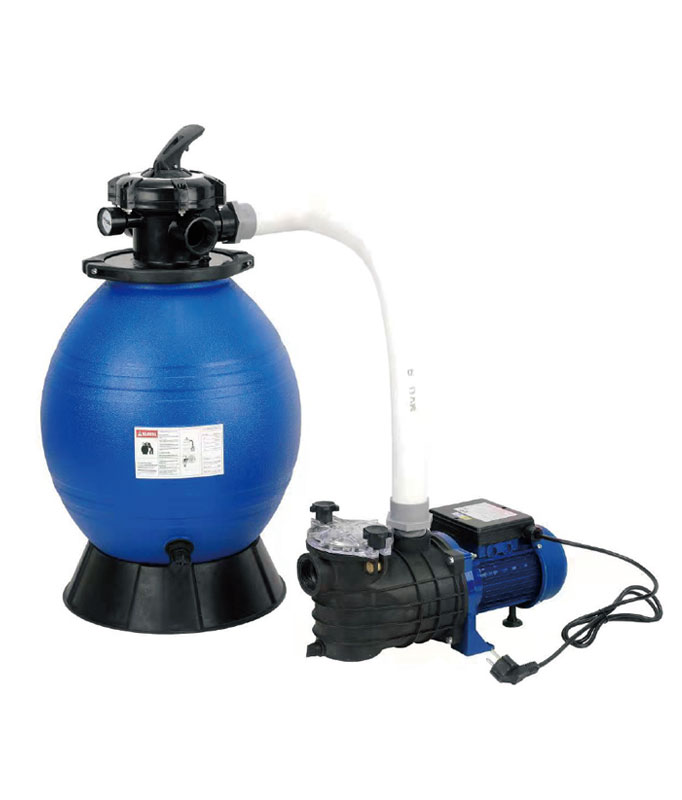
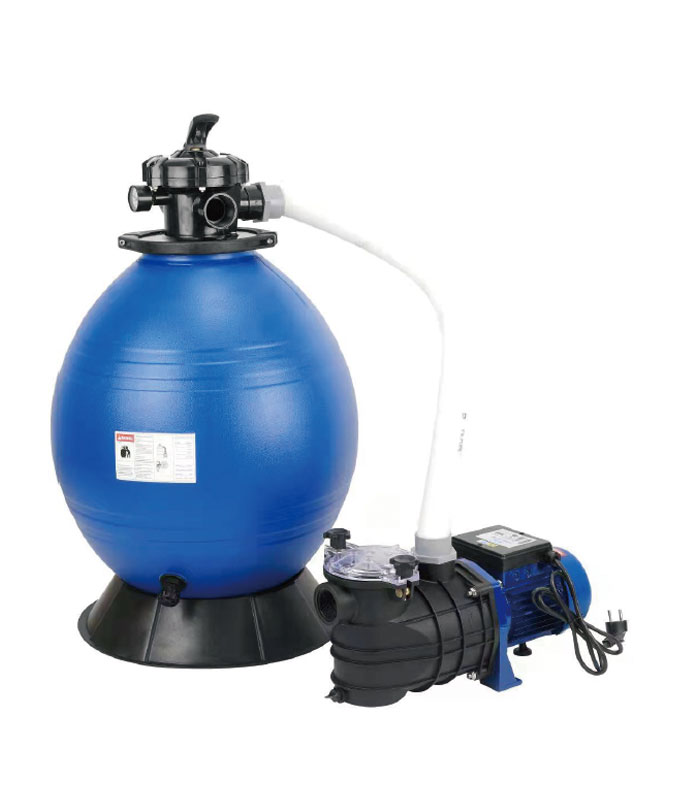
 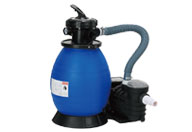 Pool Filter Pump
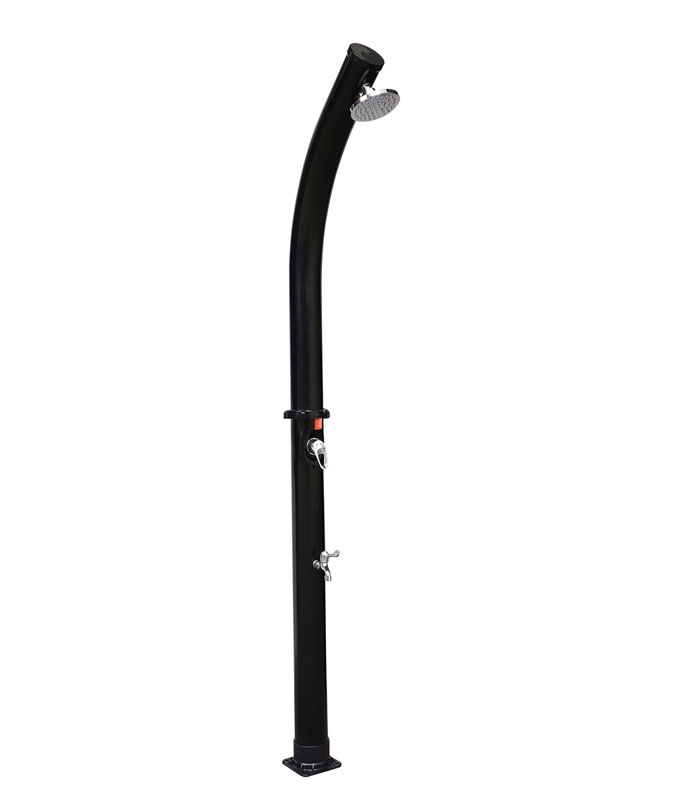
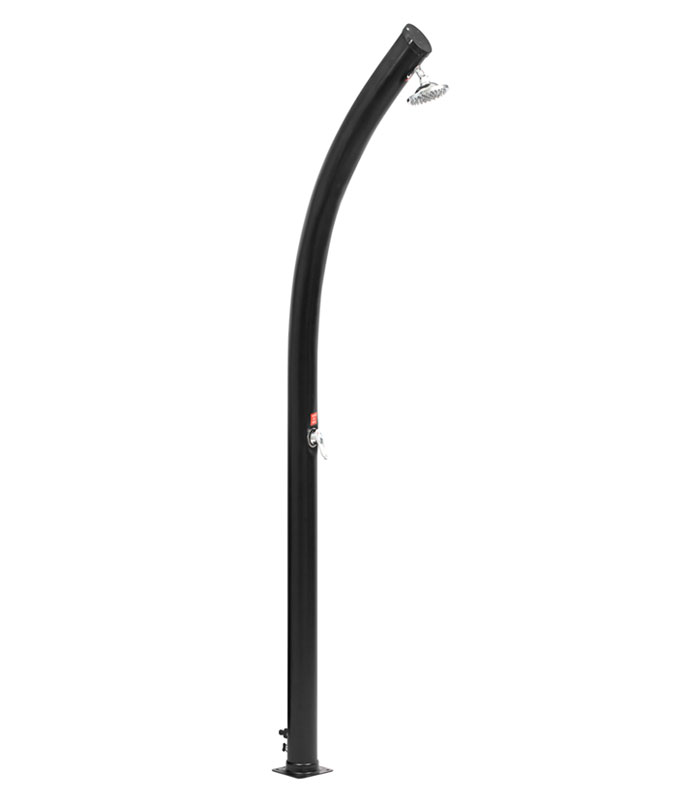
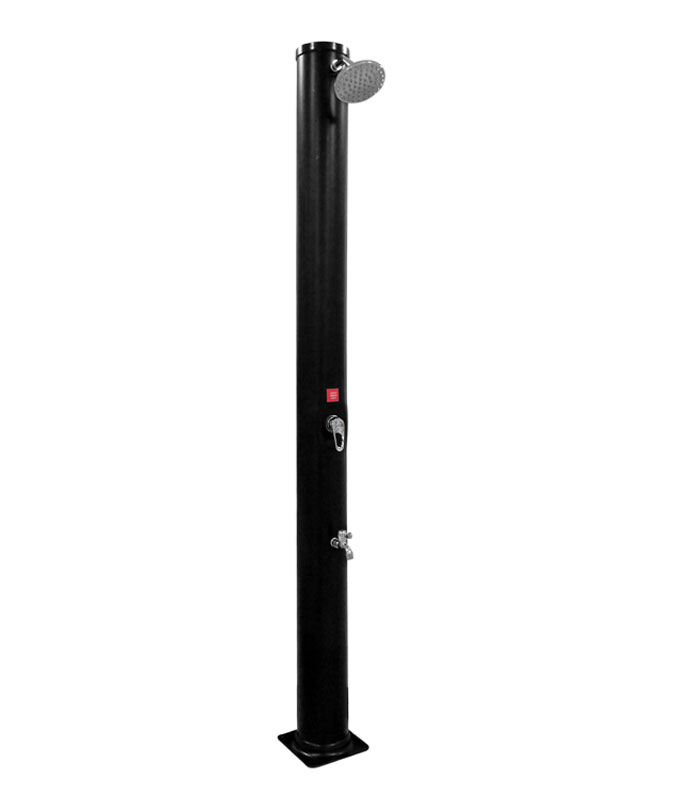
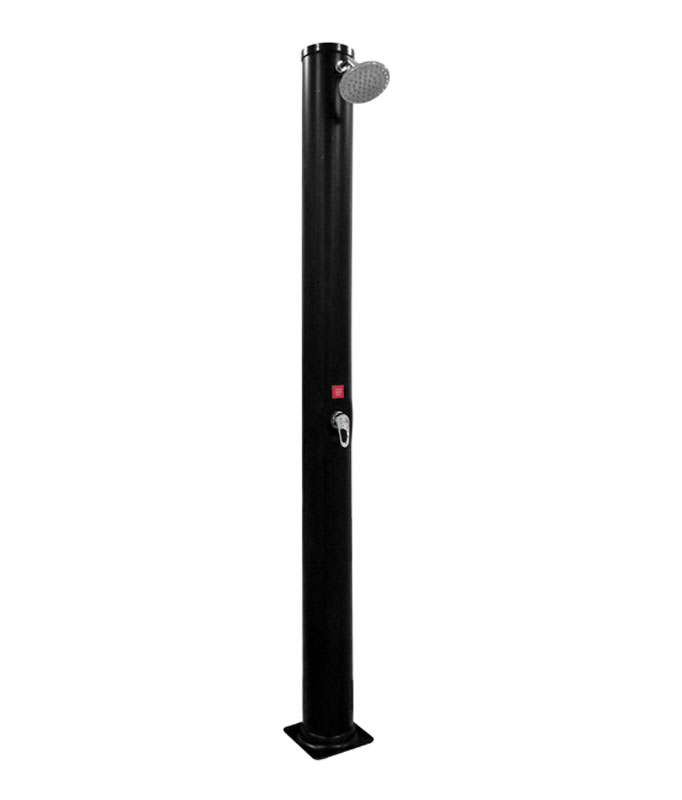
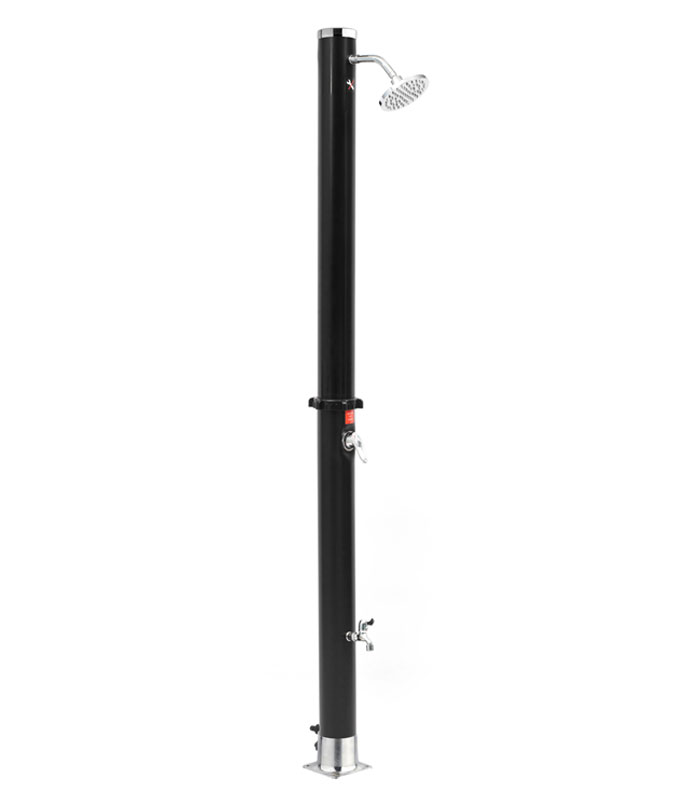
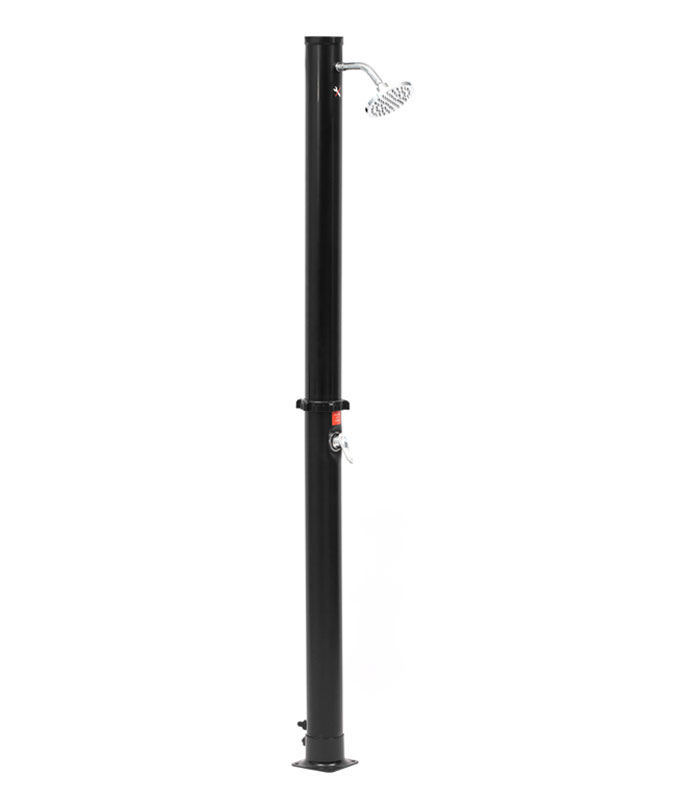
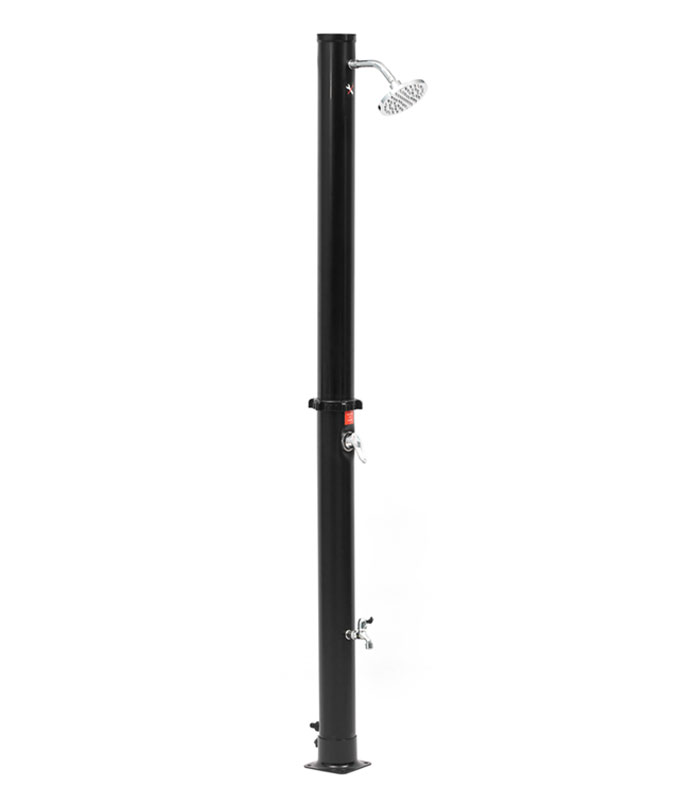
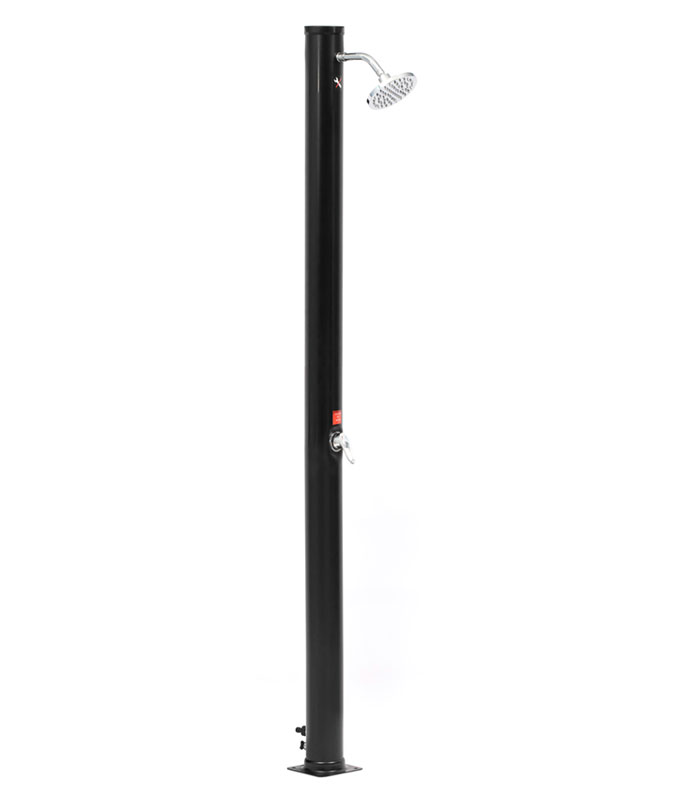
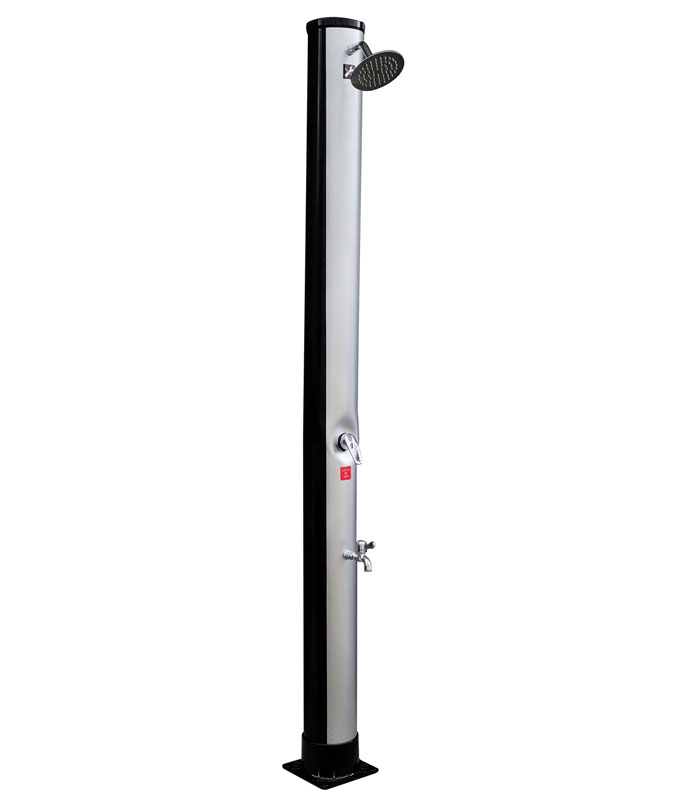
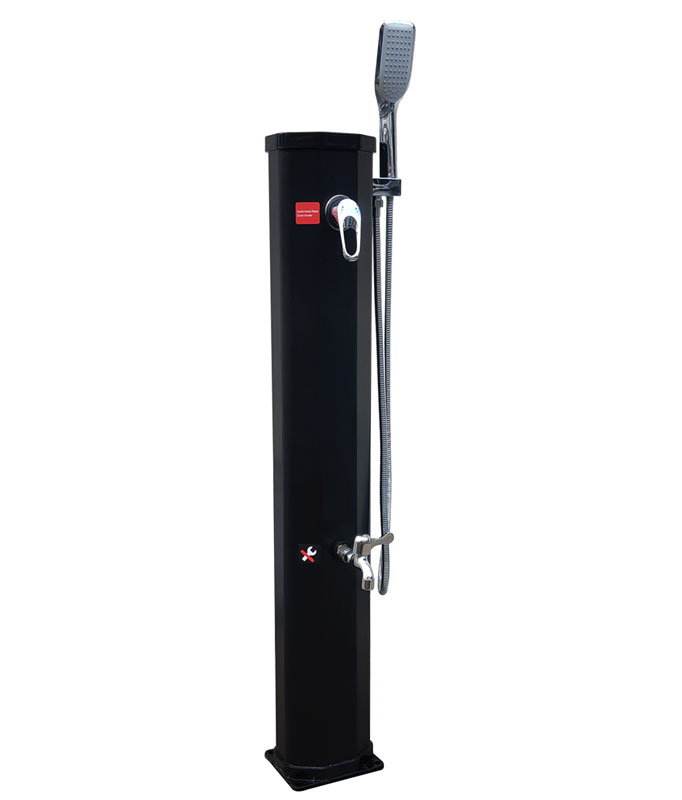
 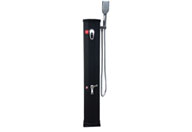 Pool Solar Shower
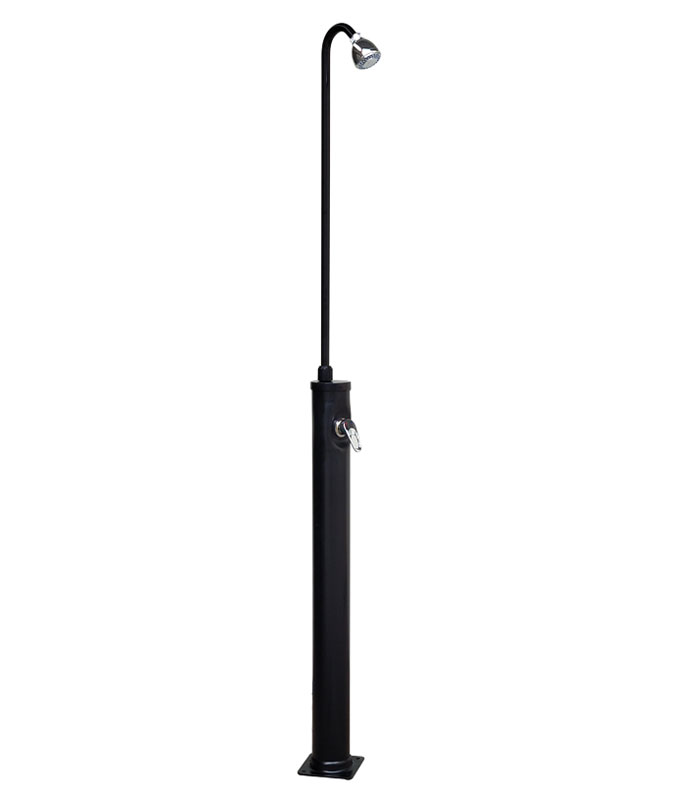
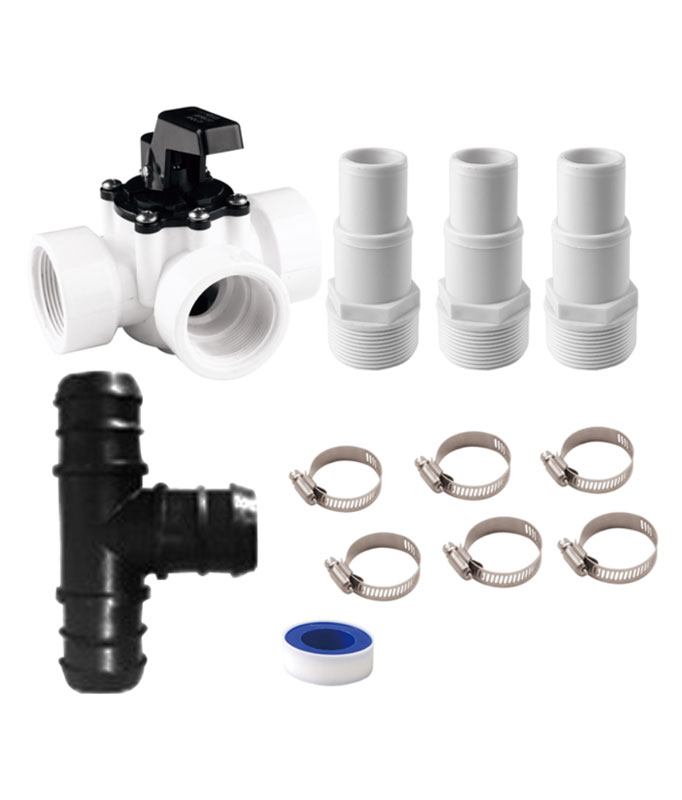
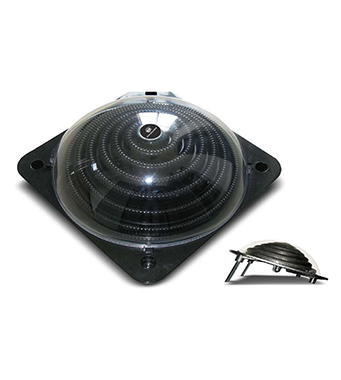
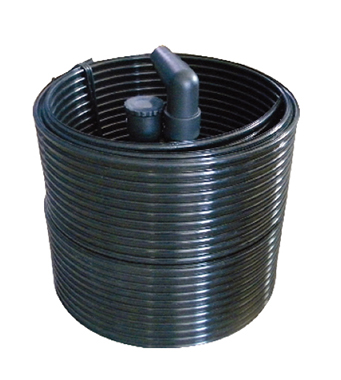
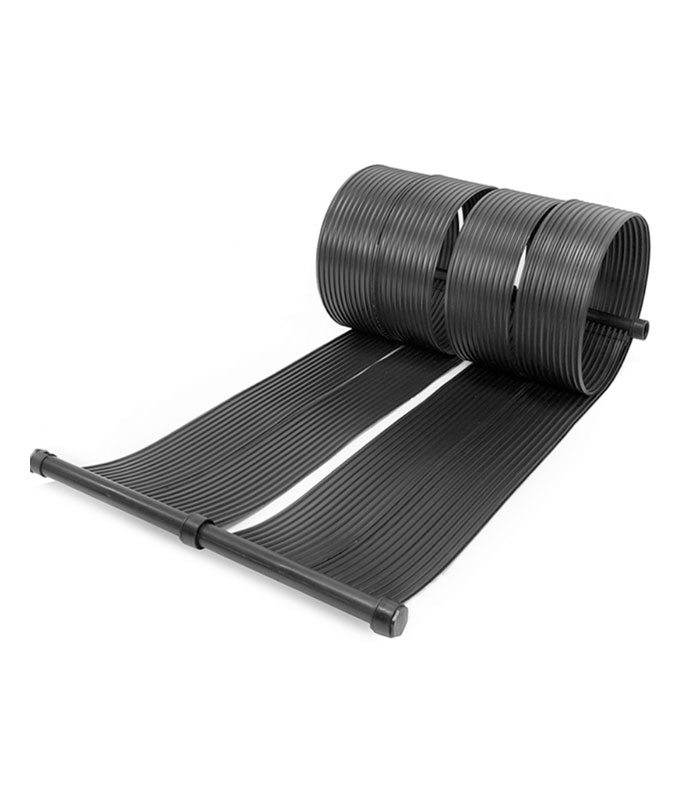
 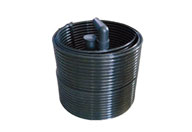 Pool Solar Collector
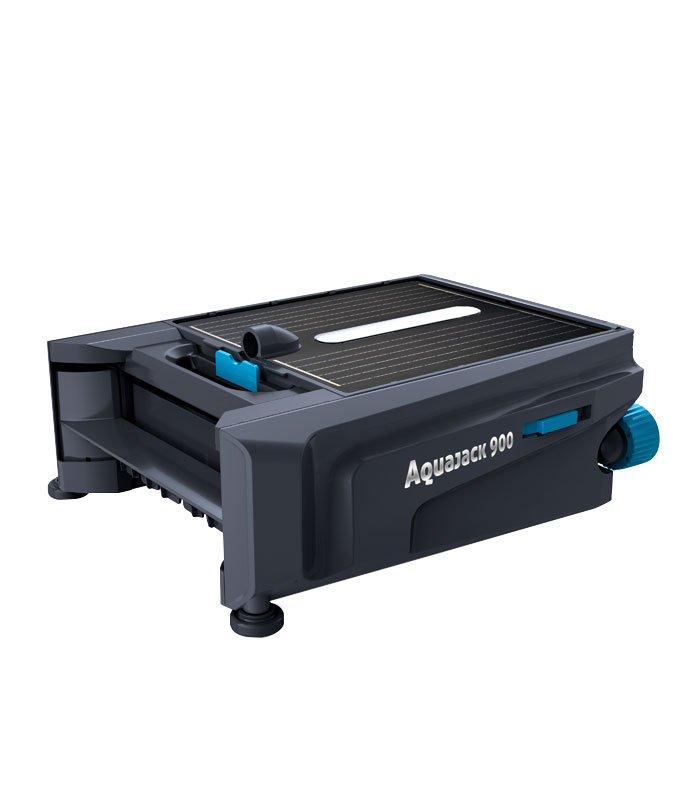

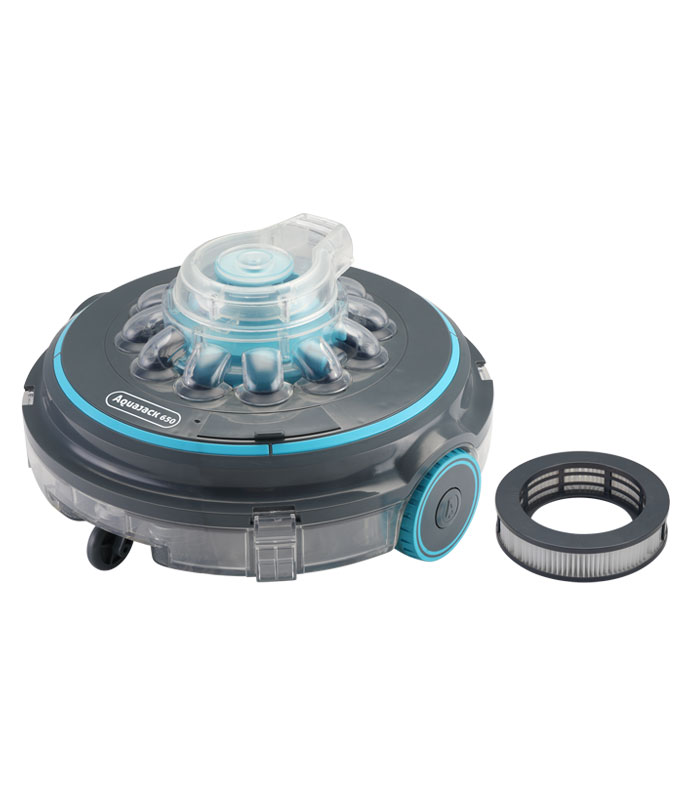


Lubricating oil plays a vital role in keeping your motor running smoothly. It minimizes friction, reduces wear, and prevents overheating. Neglecting proper lubrication can cause severe damage, leading to costly repairs or even motor failure. To ensure optimal motor performance, you must follow the correct addition cycle. Learn more about motor maintenance: Selection and addition cycle of lubricating oil to protect your investment. For related tools, check https://www.cnpoolstar.com/product/aquajack650-pool-vacuum-cleaner-4.html.
Key Takeaways
- Always check your motor's oil level to avoid damage or overheating. Use the dipstick to keep oil in the safe range.
- Pick the correct oil type for your motor's needs. Check the manual for the right thickness and performance details.
- Stick to a regular schedule for oil checks and changes. This helps find problems early and makes your motor last longer.
Why Proper Lubrication Matters
Role of lubricating oil in motor performance
Lubricating oil acts as the lifeblood of your motor. It reduces friction between moving parts, ensuring smooth operation. Without it, components grind against each other, causing wear and tear. The oil also helps dissipate heat, preventing the motor from overheating. By maintaining a protective layer, it minimizes damage and keeps your motor running efficiently. Proper lubrication is essential for achieving peak performance and avoiding unnecessary strain on the motor.
Benefits of regular lubrication for motor longevity
Regular lubrication extends the life of your motor. It prevents rust and corrosion by creating a barrier against moisture. Clean oil also removes dirt and debris, which can clog the system and reduce efficiency. When you follow a consistent lubrication schedule, you reduce the risk of breakdowns and costly repairs. This simple step in motor maintenance: Selection and addition cycle of lubricating oil, ensures your motor stays reliable for years to come.
Tip: Always check your motor’s oil level and quality to avoid unexpected issues.
Consequences of improper lubrication
Neglecting lubrication can lead to serious problems. Insufficient oil causes increased friction, which generates excessive heat. Over time, this can warp or damage critical components. Using the wrong type of oil can also harm your motor, as it may not provide the necessary protection. Ignoring regular oil checks or using contaminated oil can result in clogs, reduced efficiency, and even complete motor failure. Proper lubrication isn’t just a recommendation—it’s a necessity for motor health.
Motor Maintenance: Selection and Addition Cycle of Lubricating Oil
Choosing the right type of lubricating oil
Selecting the correct lubricating oil is crucial for your motor’s health. Different motors require specific oil types based on their design and operating conditions. You should start by checking your motor’s manual for recommended oil grades. These grades indicate the oil’s viscosity and performance under different temperatures.
For example, a motor operating in cold climates may need a low-viscosity oil to ensure smooth flow during startup. On the other hand, motors used in high-temperature environments often require high-viscosity oil for better protection.
Tip: Look for oils with additives that enhance performance, such as detergents to clean deposits or anti-wear agents to reduce friction.
When choosing oil, consider factors like the motor’s age, workload, and environment. Using the wrong oil can lead to poor lubrication, increased wear, and reduced efficiency.
Understanding the addition cycle and its importance
The addition cycle refers to the schedule for checking and replenishing your motor’s lubricating oil. Following this cycle ensures your motor always has the right amount of oil to function properly.
You should monitor the oil level regularly, especially if your motor operates under heavy loads or extreme conditions. Most motors have an oil dipstick or indicator that makes this process simple. If the oil level drops below the recommended range, it can cause friction and overheating.
Why it matters: The addition cycle prevents oil degradation and contamination from affecting motor performance. Fresh oil maintains its protective properties, ensuring smooth operation and extending the motor’s lifespan.
By adhering to a consistent addition cycle, you reduce the risk of breakdowns and costly repairs. This practice is a cornerstone of motor maintenance: Selection and addition cycle of lubricating oil.
Following manufacturer recommendations for oil selection
Manufacturers design motors with specific lubrication needs. Their recommendations provide the best guidance for selecting the right oil. You should always consult the motor’s manual or contact the manufacturer directly for advice.
These recommendations often include details about oil type, viscosity grade, and replacement intervals. Following them ensures your motor receives optimal protection and performance.
Note: Manufacturers test their motors extensively to determine the ideal lubrication requirements. Ignoring these guidelines can lead to inefficiency and damage.
If you’re unsure about the recommended oil, reach out to a professional or the manufacturer’s support team. This step ensures you make informed decisions about motor maintenance: Selection and addition cycle of lubricating oil.
Essential Tools and Preparations
Tools needed for adding lubricating oil
Before you begin, gather the necessary tools to make the process smooth and efficient. Having the right equipment ensures you complete the task without unnecessary delays or mistakes. Here’s a list of essential tools:
- Oil funnel: Prevents spills and helps pour oil accurately.
- Oil dipstick or level gauge: Measures the current oil level in your motor.
- Clean rags or paper towels: Wipes away excess oil and keeps the area clean.
- Oil container or bottle: Holds the lubricating oil you’ll be adding.
- Gloves: Protects your hands from oil and dirt.
Tip: Keep these tools in a designated area for easy access during future maintenance.
Preparatory steps before starting the process
Preparation is key to a successful oil addition. Follow these steps to get your motor ready:
- Turn off the motor: Ensure it’s completely cool to avoid burns or accidents.
- Locate the oil cap: Refer to your motor’s manual if you’re unsure where it is.
- Inspect the area: Check for leaks or damage that might affect oil performance.
- Clean the surroundings: Remove dirt and debris around the oil cap to prevent contamination.
Note: A clean workspace reduces the risk of introducing impurities into the motor.
Safety precautions to follow
Safety should always come first when working with lubricating oil. Here are some precautions to keep in mind:
- Wear gloves to avoid skin contact with oil, which can cause irritation.
- Work in a well-ventilated area to prevent inhaling fumes.
- Dispose of used oil responsibly by taking it to a recycling center.
- Avoid overfilling the motor, as excess oil can damage components.
Reminder: Always read the safety instructions on the oil container before use.
By preparing properly and following these safety measures, you’ll ensure a hassle-free and safe oil addition process.
Step-by-Step Guide to Adding Lubricating Oil
Step 1: Check the motor’s oil level
Start by inspecting the current oil level in your motor. Locate the oil dipstick or level gauge, which is usually marked with a bright handle for easy identification. Pull it out and wipe it clean with a rag or paper towel. Insert it back fully, then remove it again to check the oil level.
The dipstick will have markings to indicate the minimum and maximum oil levels. If the oil is below the minimum mark, it’s time to add more. If it’s within the acceptable range, you can skip the addition but still monitor it regularly.
Tip: Always check the oil level when the motor is off and cool. This ensures an accurate reading and prevents burns.
Step 2: Identify the correct type of lubricating oil
Before adding oil, confirm the type your motor requires. Refer to the motor’s manual for the recommended oil grade and specifications. Using the wrong oil can harm your motor’s performance and longevity.
Pay attention to the viscosity grade, which determines how the oil flows at different temperatures. For example, a motor in a cold climate may need a low-viscosity oil, while one in a hot environment might require a higher viscosity.
Note: Some oils come with additives that improve performance, such as anti-wear agents or detergents. These can enhance motor maintenance: Selection and addition cycle of lubricating oil.
Step 3: Prepare the motor for oil addition
Preparation ensures a smooth and safe process. Begin by turning off the motor and allowing it to cool completely. Locate the oil cap, which is often labeled with an oil can symbol. Clean the area around the cap to prevent dirt or debris from entering the motor.
Place an oil funnel into the opening to avoid spills. Keep your tools, such as rags and gloves, within reach for convenience.
Reminder: Inspect the motor for any signs of leaks or damage before proceeding. Address these issues to prevent further complications.
Step 4: Add the lubricating oil
Pour the oil slowly into the funnel, checking the dipstick periodically to avoid overfilling. Add small amounts at a time, as it’s easier to add more oil than to remove excess.
Once the oil reaches the recommended level, stop pouring and remove the funnel. Wipe away any spills around the oil cap before securing it back in place.
Caution: Overfilling can cause pressure buildup and damage internal components. Always aim for the correct level.
Step 5: Recheck the oil level and clean up
After adding the oil, reinsert the dipstick to confirm the level is within the acceptable range. If it’s still low, add a bit more and check again. Once satisfied, clean the dipstick and surrounding area.
Dispose of any used oil or empty containers responsibly by taking them to a recycling center. Store your tools and remaining oil in a safe, dry place for future use.
Tip: Regularly checking and maintaining your motor’s oil level is a key part of motor maintenance: Selection and addition cycle of lubricating oil.
Common Mistakes to Avoid
Using the wrong type of oil
Using the incorrect lubricating oil can harm your motor. Each motor is designed to work with specific oil types. When you use oil with the wrong viscosity or additives, it may fail to provide proper lubrication. This can lead to increased friction, overheating, and wear on motor components.
Tip: Always check your motor’s manual for the recommended oil type. If you’re unsure, consult a professional to avoid costly mistakes.
Overfilling or underfilling the oil
Adding too much or too little oil can cause serious problems. Overfilling creates excess pressure inside the motor, which can damage seals and other parts. Underfilling, on the other hand, leaves components unprotected, increasing friction and wear.
To avoid these issues, monitor the oil level carefully during each addition. Use the dipstick to ensure the oil stays within the recommended range.
Reminder: It’s easier to add more oil than to remove excess. Pour slowly and check frequently.
Skipping regular oil checks
Neglecting to check your motor’s oil level can lead to unexpected failures. Over time, oil degrades and loses its protective properties. Dirt and debris can also contaminate the oil, reducing its effectiveness.
Make it a habit to inspect the oil level and quality regularly. This simple step helps you catch potential problems early and keeps your motor running smoothly.
Why it matters: Regular checks prevent costly repairs and extend your motor’s lifespan.
Ignoring manufacturer recommendations
Manufacturers provide specific guidelines for oil type, viscosity, and replacement intervals. Ignoring these recommendations can result in poor performance and damage. Motors are tested extensively to determine their ideal lubrication needs.
Follow the manufacturer’s instructions to ensure your motor gets the best care. If you lose the manual, contact the manufacturer or search for it online.
Note: Sticking to these guidelines ensures optimal performance and protects your investment.
Tips for Maintaining Optimal Motor Lubrication
Follow a regular maintenance schedule
A consistent maintenance schedule keeps your motor in top condition. Set reminders to check the oil level and quality at regular intervals. This habit helps you catch issues early, such as low oil levels or contamination. Create a simple checklist to track your motor’s lubrication needs.
Tip: Use a calendar or mobile app to schedule oil checks and replacements. Staying organized prevents missed maintenance tasks.
Monitor oil quality and replace when necessary
Oil quality directly affects motor performance. Check for signs of degradation, such as a dark color or a burnt smell. Contaminated oil can harm your motor by reducing lubrication efficiency. Replace the oil when it shows signs of wear or reaches the manufacturer’s recommended interval.
- Signs to watch for:
- Thick or sludgy texture
- Unusual odors
- Visible debris
Reminder: Fresh oil ensures your motor runs smoothly and avoids unnecessary wear.
Store lubricating oil properly
Proper storage keeps your oil effective for future use. Choose a cool, dry place away from direct sunlight. Exposure to heat or moisture can degrade the oil and reduce its performance. Always seal the container tightly to prevent contamination.
Note: Label your oil containers with the purchase date to track their shelf life.
Consult the motor’s manual for specific guidelines
Your motor’s manual is the ultimate guide for lubrication. It provides detailed instructions on oil type, viscosity, and replacement intervals. Following these guidelines ensures your motor gets the care it needs. Keep the manual handy for quick reference during maintenance.
Why it matters: Manufacturer recommendations are tailored to your motor’s design, ensuring optimal performance and longevity.
Proper lubrication keeps your motor running efficiently and prevents costly damage. Following the correct addition cycle ensures smooth operation and extends its lifespan. Avoid mistakes like using the wrong oil or skipping checks.
Reminder: Regular motor care protects your investment and guarantees long-term performance. Make lubrication a priority today!
FAQ
What happens if you skip regular oil checks?
Skipping oil checks can lead to low oil levels or contamination. This increases friction, causes overheating, and damages motor components. Regular checks prevent costly repairs and ensure smooth operation.
How often should you replace lubricating oil?
Follow your motor’s manual for replacement intervals. Typically, replace oil every 3-6 months or after heavy use. Fresh oil maintains performance and protects your motor from wear.
Can you mix different types of lubricating oil?
Avoid mixing oils with different viscosities or additives. This can reduce lubrication efficiency and harm your motor. Always use the recommended oil type for optimal performance.